Curious about how to store and manage your cryptocurrencies securely? MetaMask makes it easy! Whether you're exploring the world of decentralized finance (DeFi), collecting NFTs, or just starting your crypto journey, MetaMask is a must-have wallet. This guide will walk you through everything you need to know about setting up and using a MetaMask wallet—from downloading the extension to securing your assets.
What is MetaMask and Why Do You Need It?
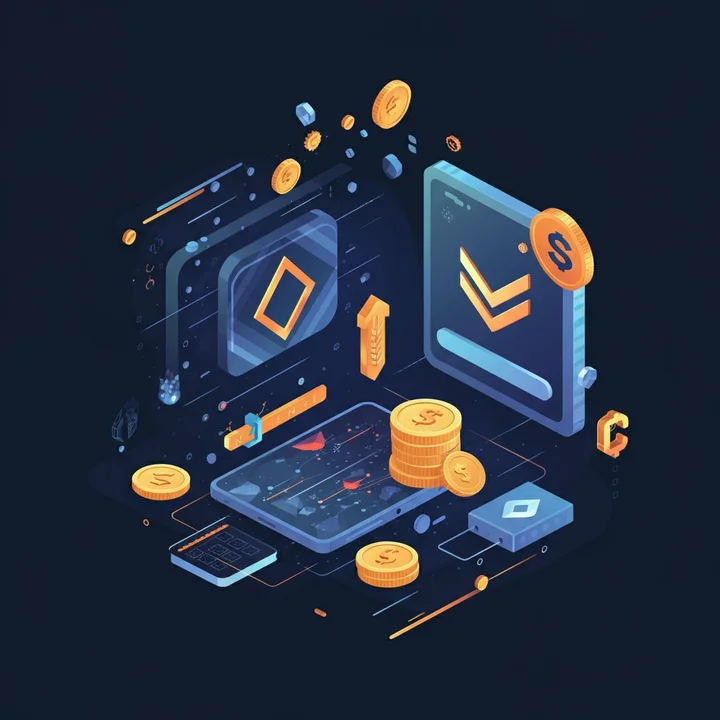
MetaMask is a non-custodial cryptocurrency wallet and browser extension that allows users to store, send, and receive tokens securely. It’s primarily used for accessing blockchain networks like Ethereum and interacting with decentralized applications (dApps). Whether you're buying an NFT or swapping tokens, MetaMask acts as your gateway to blockchain-powered ecosystems.
Key Features of MetaMask:
Browser and Mobile Accessibility: Available as a browser extension or a mobile app for convenient access.
Ethereum and Beyond: Offers compatibility with Ethereum and other blockchain networks like Binance Smart Chain (BSC) and Polygon.
User-Friendly Interface: Designed for both beginners and seasoned crypto users.
Control: You own your private keys, ensuring full custody of your assets.
Now that you know what it is, let's get started on setting up your MetaMask wallet!
How to Download and Install MetaMask
MetaMask is free and can be downloaded as a browser extension for Chrome, Firefox, Brave, or Edge, or as a mobile app for Android and iOS. Here’s how:
Browser Extension Setup:
Visit the official MetaMask download page.
Choose your browser and click on “Install MetaMask for [Your Browser].”
Follow the prompts to add the extension. Once installed, you’ll see the MetaMask icon in your browser toolbar.
Mobile App Setup:
Go to the App Store (iOS) or Google Play Store (Android).
Search for “MetaMask” and verify the correct app (published by “MetaMask - Web3 Wallet”).
Download and open the app to begin the setup.
Pro tip: Always download MetaMask from its official website or app store listing to avoid scams or malicious apps.
How to Create a New Wallet
Once you’ve installed MetaMask, it’s time to create your wallet. Follow these steps for a smooth setup:
Step 1: Setting a Password
Open the MetaMask extension or app and click on “Get Started.”
Select “Create a Wallet.”
Choose a strong password (a combination of uppercase, lowercase, numbers, and special characters). This password is used to unlock your wallet and is stored locally.
Step 2: Back Up Your Seed Phrase (Critical!)
MetaMask generates a 12-word secret recovery phrase (also known as a seed phrase) that is the key to accessing your wallet. Write it down and store it in a secure, offline location.
Don’t skip this step. If you lose your recovery phrase, you cannot recover your wallet.
Never share your seed phrase! MetaMask or any reputable service will never ask for it.
Double-check that your seed phrase is stored safely before proceeding.
Essential Security Tips
To safeguard your MetaMask wallet:
Enable Two-Factor Authentication (2FA): While MetaMask doesn’t directly support 2FA, securing your email and other linked accounts is essential.
Beware of Phishing Scams: Only interact with trusted dApps and avoid clicking random links.
Use a Hardware Wallet: Pairing MetaMask with a hardware wallet, such as Ledger or Trezor, adds an extra layer of security.
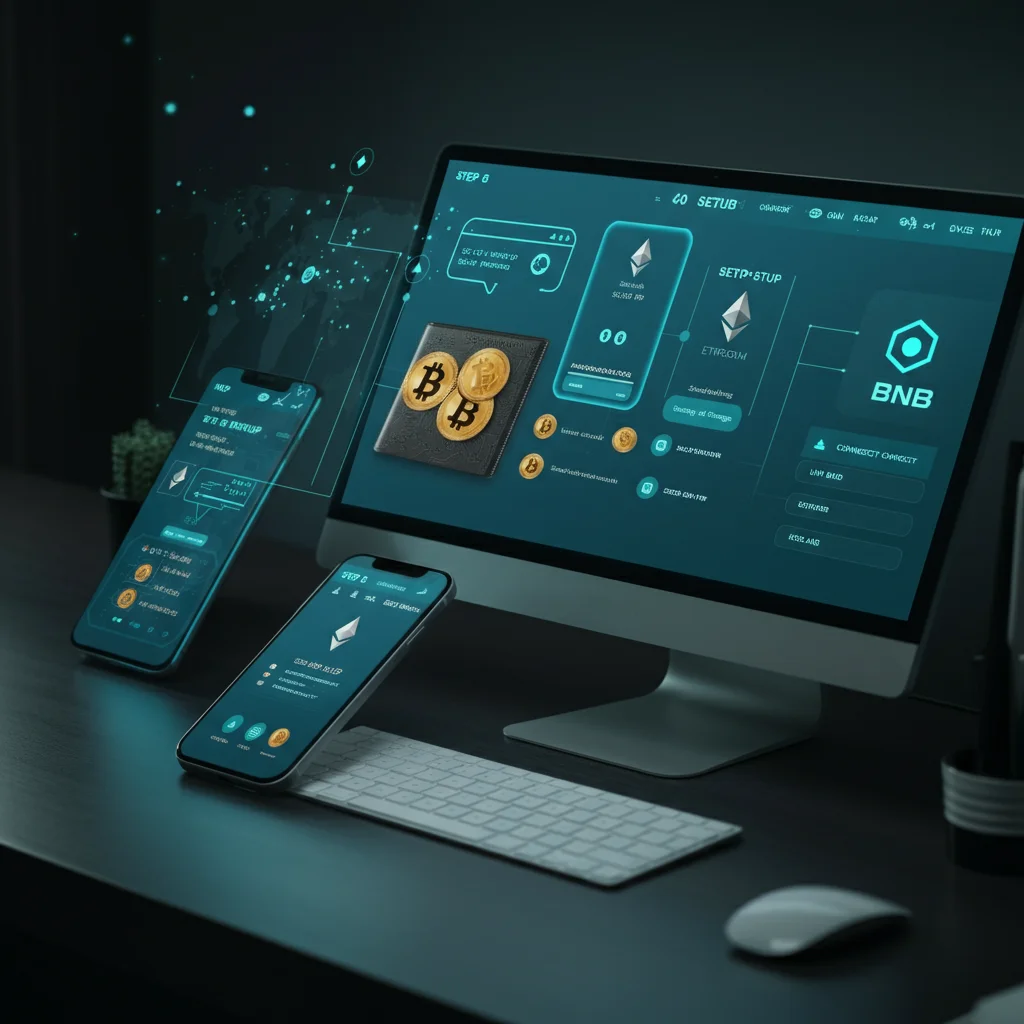
Connecting MetaMask to Ethereum and Other Networks
MetaMask is set to the Ethereum Mainnet by default. But you can add other networks, like Binance Smart Chain (BSC) or Polygon:
Adding a Custom Network:
Open MetaMask and click on “Networks” at the top.
Select “Add Network.”
Enter the required information (found on official network guides), such as the network name, RPC URL, and Chain ID.
Save the settings, and you’ll be connected to the new network.
Popular networks to consider:
Binance Smart Chain (BSC) for low transaction fees.
Polygon for its fast, cost-efficient transactions.
Receiving and Sending Tokens
Receiving Tokens:
Click on “Account” and copy your wallet address.
Share this address with the sender or input it as the recipient address for withdrawals from exchanges.
Once the transaction is confirmed on-chain, your tokens will appear in MetaMask.
Sending Tokens:
Click “Send” in MetaMask.
Enter the recipient's wallet address and the amount to send.
Confirm the transaction and pay the gas fees (transaction fees) in the network’s native token (e.g., ETH for Ethereum).
Adding Custom Tokens
If a token you’ve received isn’t showing up in your wallet, you’ll need to add it manually:
Open MetaMask and click “Import Tokens.”
Search for the token or input its contract address (found on a trusted blockchain explorer like Etherscan or BscScan).
Confirm to add the token, and it will appear in your wallet.
Syncing Across Devices
With MetaMask, you can seamlessly access your wallet from multiple devices. Simply:
Install the MetaMask app or extension on the new device.
Select “Import Wallet” during setup.
Enter your recovery phrase to sync your existing wallet.
Remember to enable device security features (password, biometric lock) on all devices.
Troubleshooting Common Issues
I Can’t See My Tokens:
Check if the tokens need to be manually added as custom tokens.
Transaction Stuck or Pending:
Increase the gas fee to speed up the transaction.
Forgot Password:
Use your recovery phrase to reset your wallet on another device.
For other issues, visit the MetaMask Support Center.
Transform Your Crypto Journey with MetaMask
Setting up a MetaMask wallet might seem daunting at first, but it’s simpler than it looks. With its user-friendly design and robust security features, MetaMask is the perfect tool to manage your digital assets and explore blockchain technology confidently.
Whether you’re sending tokens, interacting with dApps, or creating NFTs, MetaMask gives you the power to fully control your crypto. Don’t wait to get started on your decentralized journey. Download MetaMask and unlock the full potential of Web3 today!